Component cleaning: the laboratory test
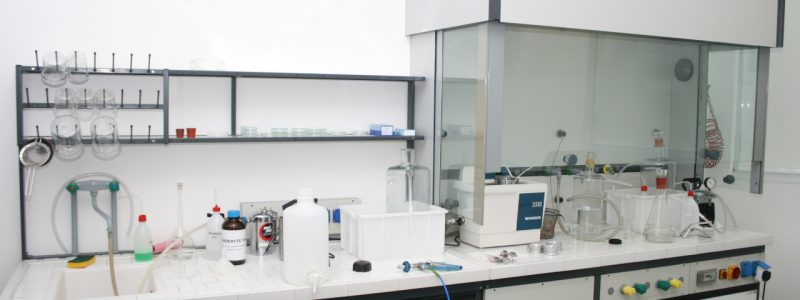
The measurement of the degree of cleanliness of a component is achieved by carrying out a laboratory test, regulated by ISO 16232:2018.
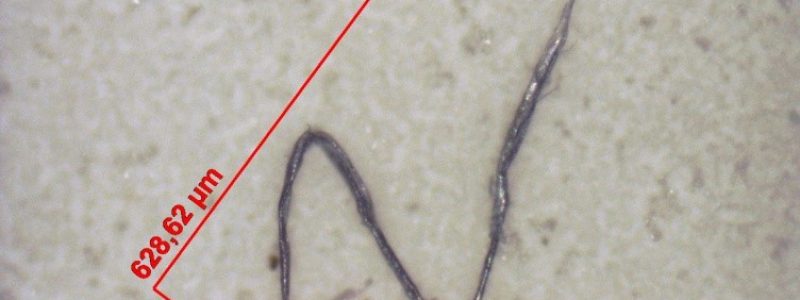
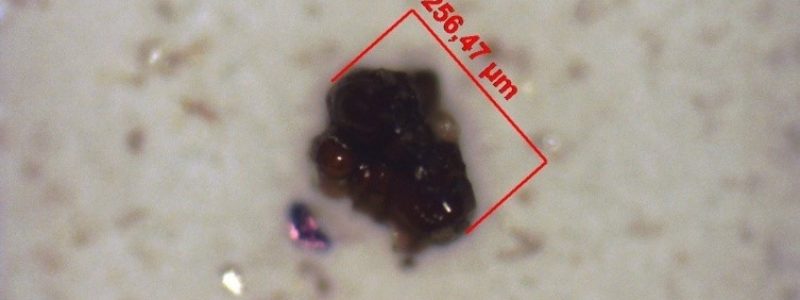
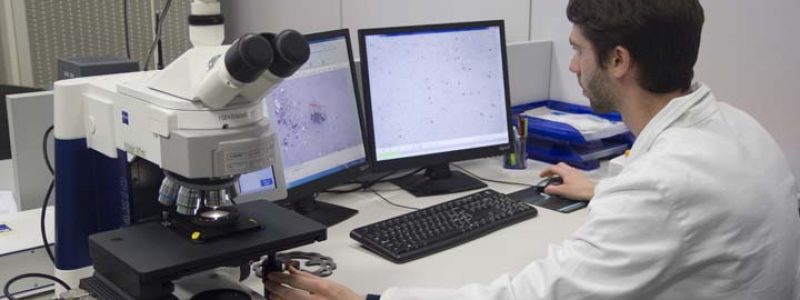
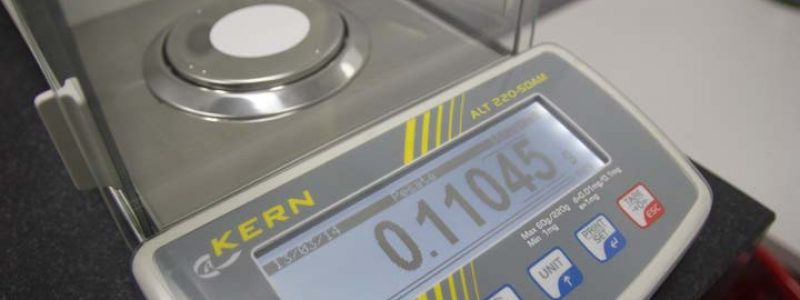
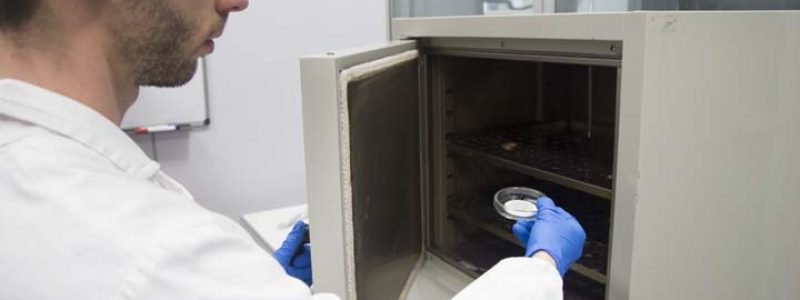
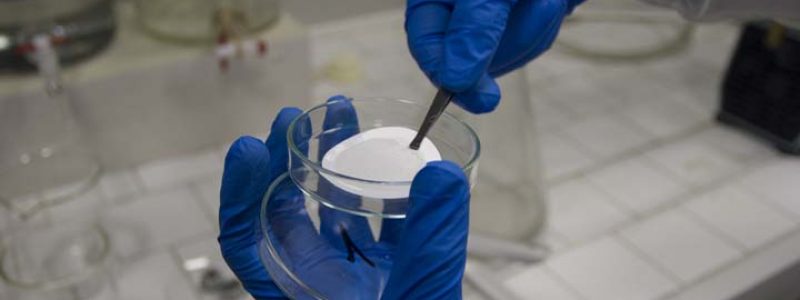
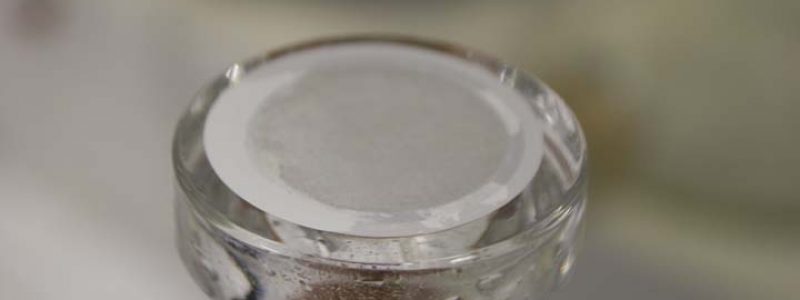
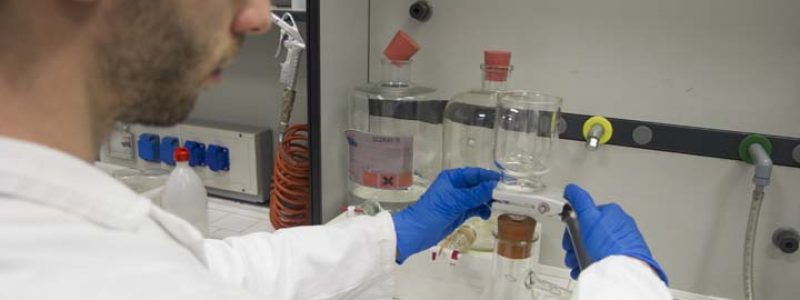
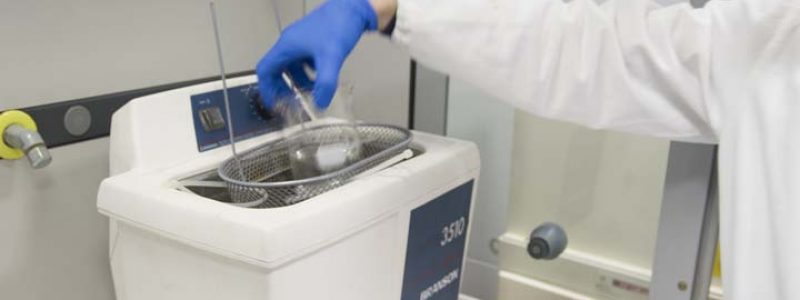
The measurement is not carried out directly: in order to conduct it, a preliminary sampling procedure needs to be performed, which transfers any detected particulates onto a special filter. This is then analysed using a range of different technologies. This means that it is not the quantity of contaminant present on the component that’s measured but the quantity of contaminant transferred to an analysis filter. The sampling operation therefore conditions the final result of the measurement.
At a glance:
- The test is destructive and therefore unrepeatable.
- It’s not the component itself that is analysed, but a filter, on which a part of the contaminant extracted from the component has been deposited.
- The particle count is not referable to a standard, meaning to a certified sample.
- The measurement is typically “instrumental”; in other words, the result depends on several factors, including the instrument used, the measurement procedure, and the operator’s experience.
- The result of the measurement is a number which is representative of the component analysed, but which is in no way representative of an entire population nor is it statistical data.
- The measurement requested IS NOT A TOLERANCE (outside of which the component should be discarded), but indicates an intervention limit for the production process.
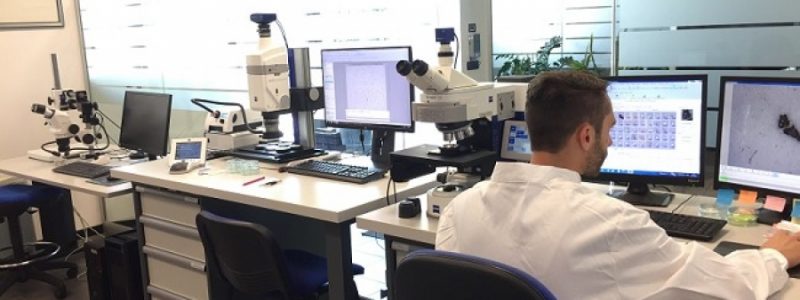
For all these reasons, there can be no room for improvisation when conducting a test; the provision of equipment and the preparation of technicians must represent the first step necessary in order to develop confidence in and an understanding of the results that can be obtained in the laboratory.
The above summarises the dialogue that forms the basis of the discussion between client and supplier when accepting a request to conduct a cleanliness analysis.


